


Home Punch Bag Guide for Better Training
- 7 days ago
- 6 min read
A punch bag in the spare room, garage or garden can turn missed sessions into useful rounds. But a poor setup is noisy, unstable and hard on your hands. This home punch bag guide covers what to buy, where to put it and how to train safely when you want proper striking work without relying on gym opening times.
Start with the space, not the bag
The bag that looks right online is not always the bag that suits your home. Measure the available height, floor area and clearance first. You need enough room to step around the bag, throw kicks if you train Muay Thai or K-1, and move away without catching a wall, radiator, shelf or parked car.
A garage is often the easiest option because of ceiling height and solid floors. A shed can work if its structure is sound and you can move freely. A spare room may suit a lighter bag or free-standing unit, but check the floor, ceiling and noise level before committing. Heavy combinations transfer force through a hanging point and into the building. That matters more than the bag’s price.
Think about who else is in the house too. A bag that swings into plasterboard or a stand that shifts across laminate will become a problem quickly. Training early in the morning or late at night calls for a quieter setup, especially in a flat or terraced house.
Choose the right home punch bag setup
There is no single best option. Your discipline, space and mounting options decide what makes sense.
Heavy bags for boxing and Muay Thai
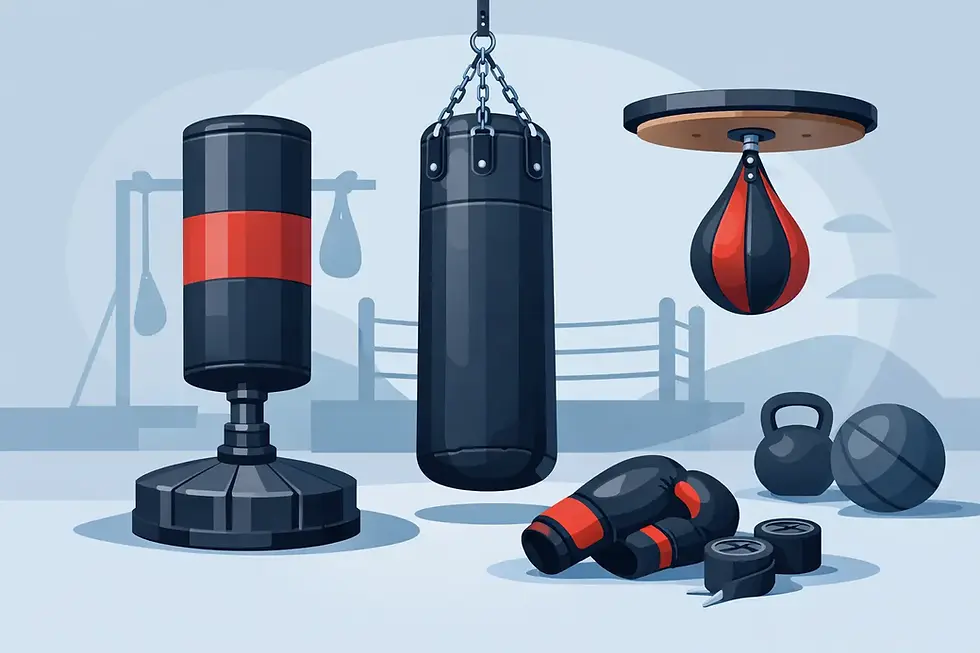
A traditional hanging heavy bag gives the most natural feel for boxing rounds. It absorbs straight punches, hooks and body shots well, then gives you movement to work with. For adult boxing and general striking, a bag around 4ft to 5ft is a practical starting point. A longer 6ft bag is better for Muay Thai fighters who need usable striking area for low kicks, knees and body punches.
Weight affects movement. A lighter bag swings more and is easier to move around, but it can become frustrating when powerful punches send it flying. A heavier bag stays planted under hard shots but needs a properly rated bracket, beam or stand. As a rough guide, choose a bag weight that gives resistance without making installation unsafe. Do not assume a domestic ceiling can carry it because the bag itself is within the stated load. Repeated impact adds dynamic force.
Free-standing punch bags
A free-standing bag is a strong choice when drilling into the ceiling is not possible. The base is normally filled with water or sand, and the striking section sits on a flexible stem. They are useful in garages, rented homes and rooms with no safe hanging point.
The compromise is feel. Even good free-standing bags can slide, tilt or rebound differently from a hanging bag, especially under low kicks and heavy boxing combinations. Sand gives a more stable base than water, although it is far less convenient to move. Put a rubber mat underneath to protect the floor and reduce movement.
Bag stands and wall-mounted options
A bag stand avoids ceiling work but takes up more floor space than most people expect. Look at its footprint, not just the bag dimensions. The frame can limit footwork on one side, so it is less ideal for fighters who want to circle freely.
A wall bracket can be an efficient solution if you have a suitable solid brick or concrete wall. It must be fixed into sound masonry with appropriate fittings, not attached to plasterboard, lightweight blocks or an uncertain partition. If you are not confident about the structure, get advice from a qualified tradesperson. Saving money on installation is not worth a bag and bracket coming down mid-round.
Get mounting and bag height right
For a hanging heavy bag, the top should sit high enough that the bottom clears the floor, normally by around 25cm to 35cm. The exact height depends on bag length and your training. A boxing bag should place its main striking area around chest and head height. A Muay Thai bag needs enough length to strike low kicks without kicking the bottom chain or forcing you to compromise your posture.
Use a rated chain, swivel and mounting hardware designed for the load. A swivel stops the chains winding up and allows the bag to move naturally. Many home setups also benefit from a spring or shock absorber, which can reduce vibration and noise travelling through the mounting point.
Keep the bag away from walls. You need clearance for its swing and for your own movement. If the bag constantly hits a wall, it will mark the surface, interrupt combinations and make far more noise than it should.
Buy protection before you start hitting hard
A home bag is still striking training. Bare-knuckle shots may feel manageable for a few minutes, then leave your knuckles, wrists or thumb joints sore. Use hand wraps for every proper session. They support the wrist, protect the knuckles and help keep the hand aligned inside the glove.
For most adult bag work, 12oz to 16oz boxing gloves are sensible. Lighter gloves can be appropriate for experienced boxers working speed and accuracy, but they offer less padding. Heavier gloves give more protection and are a better default for longer rounds, newer fighters and anyone returning after time away. Choose a secure wrist fastening and enough room for wrapped hands.
If you train Muay Thai, use gloves with wrist support and a shape that lets you open the hand for clinch drills and long guard work. MMA gloves are not a replacement for boxing gloves on a heavy bag. Their exposed knuckles and reduced wrist support make them better suited to technical pad work, grappling transitions or light drills rather than repeated full-power punching.
Do not kick a hard or badly filled bag without shin protection while you are building conditioning. Shinpads are especially useful if you are new to Muay Thai, returning from injury or training on a dense bag. Your shins adapt over time, but bruising them badly does not make you tougher. It simply limits your next session.
Fill, feel and durability matter
A bag should feel firm enough to take a clean shot without collapsing, but not so solid that every punch jars the wrist. Quality filling is distributed evenly, giving a consistent surface from top to bottom. Cheap or poorly packed bags can develop hard spots, empty patches and a lopsided shape that changes how your strikes land.
Synthetic outer materials are practical for most home users. They are easy to wipe down, cope well with regular glove contact and usually offer strong value. Leather bags feel premium and can last for years when cared for, but they cost more and are best kept away from damp garages or exposed outdoor areas.
If the bag will live outside, do not assume it is weatherproof. Rain, moisture, cold and direct sunlight can damage filling, stitching and outer material. A covered area may still be damp enough to shorten the bag’s life. Indoor storage is the safer long-term choice.
Train with purpose, not endless power shots
The bag rewards structure. Start with three-minute rounds and one-minute rests, then build volume as your conditioning improves. Use the first round for movement, range and relaxed technique. Work the jab, step around the bag and make sure your shoulders are not rising with every punch.
For the next rounds, add combinations with a clear finish. A boxer might use jab-cross-hook, step out, then reset. A Muay Thai fighter can add a rear low kick after the cross or finish a punch sequence with a knee. The bag should move because you hit it well, not because you are pushing it.
Power work has a place, but it should not make up every round. Save hard shots for controlled combinations where your wrist is straight, chin is tucked and feet are set. If your technique breaks down, reduce force. A bag does not give feedback like a coach or sparring partner, so poor habits can become automatic if you only chase noise and impact.
A simple weekly routine can include two technical bag sessions, one conditioning-focused session and your normal club training. If you already spar or hit pads hard at the gym, keep home work focused on clean volume, footwork and specific combinations rather than adding more punishment to tired hands and shoulders.
Keep your setup safe and usable
Check the chain, straps, swivel, brackets and stitching regularly. Look for fraying, loose bolts, cracks in a stand or movement in wall fixings. Wipe the bag and gloves after training, then allow gloves to dry fully before the next session. Leaving damp gloves sealed in a bag is a quick route to unpleasant smells and worn lining.
A rubber floor mat is a worthwhile addition. It protects concrete, laminate and carpet, adds grip for pivots, and softens some of the noise from footwork and a free-standing base. Keep the training area clear, particularly if children have access to it. A heavy bag is equipment, not a climbing frame.
SIBIGA Fight Gear can help you build out the practical essentials, from a suitable punch bag and gloves to wraps, shinpads and training accessories. Choose kit based on how you actually train, not just what looks toughest in a product photo.
Make the home setup easy to use and you will use it. Leave enough space to move, keep your wraps and gloves close by, and treat every round as a chance to improve one detail. The bag will still be there when the weather is poor, the gym is closed or you have thirty focused minutes to put into your striking.


Comments